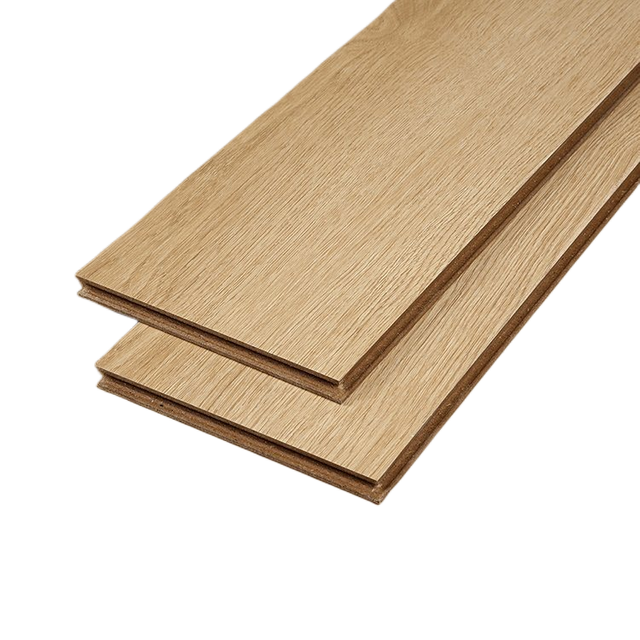
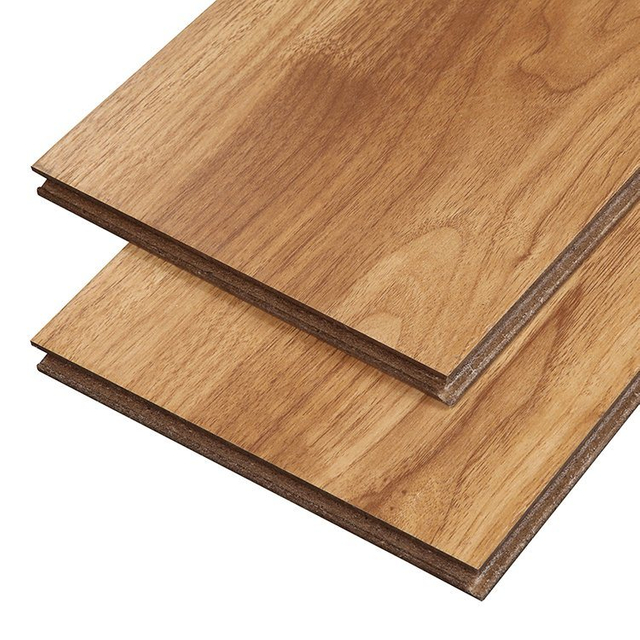
Are you looking for a way to update your kitchen with a stylish, durable, and cost-effective floor? Laminate flooring may be the perfect solution. It’s easy to install, looks great, and fits most budgets.
In this article, we will guide you through the process of installing laminate flooring in your kitchen. We’ll cover everything from choosing the right laminate to installation and maintenance tips. By the end, you'll know exactly what it takes to get a beautiful laminate floor that will last for years.
Why Choose Laminate Flooring for Your Kitchen?
Laminate flooring offers several advantages, especially for high-traffic areas like the kitchen. Some of its most notable benefits include:
1. Affordability
Compared to hardwood or tile, laminate is a much more budget-friendly option. It provides the aesthetic appeal of wood or stone without the hefty price tag. Plus, laminate is easier to maintain, saving you additional costs in the long run.
2. Durability
Laminate flooring is known for its durability, especially when it comes to withstanding the wear and tear of daily kitchen use. It is resistant to scratches, stains, and fading, making it an excellent option for a busy kitchen.
3. Easy to Maintain
One of the key reasons people choose laminate for their kitchen is how easy it is to clean. A simple sweep or vacuum, followed by a damp mop with mild cleaner, is all you need to keep your floor looking fresh.
4. Aesthetic Variety
Laminate flooring comes in a wide variety of styles, including wood, tile, and stone effects. This gives you the flexibility to choose the perfect design that complements your kitchen decor.
5. Quick Installation
Thanks to the click-lock technology used in most modern laminates, installation is straightforward and can often be done without professional help. This makes it an ideal choice for DIY enthusiasts.

Choosing the Right Laminate for Your Kitchen
Before diving into installation, it's important to select the right laminate for your kitchen. Not all laminate is the same, especially when it comes to handling moisture, which is abundant in a kitchen setting. When choosing laminate for your kitchen, consider the following:
Water Resistance
Although laminate flooring is not entirely waterproof, many modern options are designed to be water-resistant. In a kitchen, this feature is crucial, as spills are inevitable. For extra protection, you can apply a silicon sealer to the seams between planks to prevent water from seeping into the core.
Durability Rating
Laminate flooring comes with different wear ratings, such as AC3, AC4, and AC5. For kitchens, choose a laminate with at least an AC4 rating, as it will withstand heavy foot traffic and the potential for spills better than lower-rated options.
Thickness and Wear Layer
The thicker the laminate, the more durable it will be. A thicker wear layer adds extra protection against scratches, dents, and other types of damage, making it an ideal choice for the kitchen, where heavy cookware and high foot traffic are common.
Preparing Your Kitchen for Laminate Installation
Once you've selected your laminate, it’s time to prepare your kitchen for installation. Here’s what you’ll need to do:
1. Clean and Level the Subfloor
Before you install laminate, the subfloor needs to be smooth, dry, and clean. Any debris or uneven spots can affect the integrity of your new floor, causing gaps or uneven sections. If the subfloor is not perfectly level, use a leveling compound to correct any issues.
2. Acclimate the Laminate
Laminate flooring should be acclimated to the room temperature before installation. Lay the unopened boxes of laminate in your kitchen for at least 48 hours before you begin the installation. This ensures the planks adjust to the room’s temperature and humidity, preventing them from expanding or contracting after installation.
3. Choose the Right Underlayment
Underlayment is essential for providing extra cushioning, sound insulation, and moisture protection. While some laminate comes with built-in underlayment, if yours doesn’t, you’ll need to add a separate underlayment layer before laying the planks.

Step-by-Step Guide to Installing Laminate Flooring
With your subfloor prepared and the laminate ready to go, you can begin the installation process. Follow these steps for a successful laminate flooring installation:
1. Start at the Farthest Corner
Begin laying the laminate from the farthest corner of your kitchen, working your way towards the door. This ensures the last row of planks will be cut in a less noticeable area.
2. Install the First Row
Place the first row of planks along the wall, ensuring that the grooves are facing the wall. Leave a small expansion gap (usually about 1/8 inch) between the laminate and the wall to allow for the natural expansion and contraction of the material.
3. Click the Planks Together
Most laminate flooring uses a click-lock system, meaning you simply need to click the planks together at an angle. Once the first row is in place, continue with the rest of the rows, connecting each plank as you go. Make sure the seams are tight and aligned properly to avoid any gaps.
4. Cut the Last Row
Once you’ve laid most of the floor, you’ll likely need to cut the last row of planks to fit. Use a saw or laminate cutter to make the necessary cuts. Measure the space carefully before cutting to ensure a perfect fit.
5. Seal the Edges
To enhance water resistance, consider applying a silicone sealant to the edges of the laminate, especially in high-moisture areas such as around the sink and dishwasher.
Maintaining Your Laminate Flooring
Once your laminate floor is installed, it’s important to maintain it properly to ensure it lasts for years. Here are a few tips for keeping your kitchen laminate flooring in top condition:
1. Clean Regularly
Sweep or vacuum your floor regularly to remove dirt, crumbs, and debris. This will prevent dirt from scratching the surface of the laminate.
2. Wipe Spills Immediately
While laminate is water-resistant, it’s not completely waterproof. Always clean up spills promptly to prevent moisture from seeping into the seams or core of the laminate.
3. Use a Damp Mop
To deep clean your laminate floor, use a damp mop with warm water and a mild cleaner. Avoid using too much water, as excessive moisture can warp the laminate.
4. Protect from Heavy Impacts
Avoid dragging heavy furniture or appliances across your laminate floor, as this can cause scratches or dents. Use furniture pads under the legs of chairs and tables to protect the surface.
Conclusion
Laminate flooring is a fantastic option for kitchens, offering both practicality and aesthetics. It’s durable, affordable, and easy to maintain, making it an ideal choice for busy households. If you're looking for reliable and high-quality laminate options, consider BS-SPC. We offer a wide selection of laminate floors, and our team can help with everything from product selection to installation. Let BS-SPC help you create the perfect kitchen floor that suits your style and budget.
FAQs
Q: Can laminate flooring be used in high-moisture areas like the kitchen?
A: Yes, laminate flooring designed for kitchens is water-resistant, though it's important to clean up spills promptly and avoid prolonged exposure to moisture.
Q: How long does laminate flooring last?
A: Laminate flooring can last up to 20 years, depending on the quality of the product and how well it's maintained.
Q: Is laminate flooring durable enough for a kitchen?
A: Yes, laminate flooring is durable and resistant to scratches, stains, and fading. It’s designed to handle the wear and tear of a busy kitchen.
Q: How do I clean laminate flooring in my kitchen?
A: Regular sweeping or vacuuming is recommended. For deep cleaning, use a damp mop with a mild cleaner, but avoid excessive water to prevent warping.


