Size: | |
---|---|
Material: | |
Thickness: | |
Availability: | |
Quantity: | |
Loose Lay LVT
BS-SPC
BS-2016
What is Loose Lay LVT flooring?
Loose Lay LVT (Luxury Vinyl Tile) is a special type of LVT flooring, also known as free-lay LVT flooring. It is a flooring material that does not require the use of glue or adhesives for installation.
Loose Lay LVT flooring is characterized by a special sliding layer on the back of the flooring that allows the flooring to be laid freely on the ground without the need for glues or adhesives to hold it in place. This sliding layer has good friction and allows the flooring to fit tightly and remain stable when laid.
Name | Vinyl flooring(Vinyl flooring(Luxury Vinyl Tile Flooring) |
Color | We have several hundreds of color for your choice. |
Board Thickness | 1.5mm,2.0mm,2.5mm,3.0mm,3.5mm,4.0mm,5.5mm,6.0mm,7.0mm.8.0mm. |
Wearing LayerThickness | 0.3mm 0.5mm 0.7mm as regular |
Surface Texture | Deep Grain,WoodGrain,Marble Grain,Stone,Carpet |
Finish | UV-Coating |
Installation | Click system(Unilin,Valinge),Loose lay,Dray Back/Glue Down |
Delivery Time | 7-10 days |
Size | Inch or MM |
6"*48 12"*12 | |
7"*48 12"*24 | |
9"*48 18"*18 | |
9"*36 18"*36 | |
Backing Foam | IXPE(1.0mm,1.5mm,2.0mm) EVA(1.0mm,1.5mm) |
Surface | Wood Embossed,Deep Wood Embossed, Hand scraped,Eir. |
Useage | Bedroom,Kitchen,Basements,Home,School, Hospital,Mall,Commercial to use. |
Features | Waterproof,Wear resistant,Anti-slip,Moisture Proo,Fireproof,durable, anti-scratch,antibacte rail. |
Market | Export to American,Canadian,European Market,Part Asia,Africa Countries.Australia Market |
Warranty | 10 years for commercial and 25 years for residential |
Benefits of Loose Lay LVT flooring include:
Easy Installation: No glues or adhesives are required, eliminating the need for tedious installation steps and allowing the flooring to be installed quickly.
Easy to Replace: Loose Lay LVT flooring can be removed and replaced relatively easily, making it easier to do so if the floor needs to be replaced or repaired.
Good stability: The sliding layer of Loose Lay LVT flooring allows the flooring to fit snugly on the ground when it is laid and remains stable and is not prone to loosening or falling off.
Good sound insulation: The sliding layer of Loose Lay LVT flooring absorbs and reduces noise, providing good sound insulation and making the room quieter and more comfortable.
However, there are some considerations for Loose Lay LVT flooring:
Floor Preparation: Although Loose Lay LVT flooring does not require the use of glues or adhesives, the floor must be clean, level, and free of impurities such as oil or dust to ensure that the floor will fit snugly into the ground.
Temperature and Humidity: Before installing Loose Lay LVT flooring, you need to make sure that the temperature and humidity of the floor meets the manufacturer's requirements to ensure the stability and longevity of the floor.
Quality Selection: The quality of Loose Lay LVT flooring and the performance of the sliding layer may vary, so it is recommended to choose a product with reliable quality and a good brand reputation.
Overall, Loose Lay LVT flooring is a convenient flooring material for places that require frequent replacement or temporary use, such as exhibition venues and rental housing. However, when choosing and installing, it is still necessary to pay attention to factors such as ground preparation and quality selection.
Loose Lay LVT flooring is relatively easy to install, here are the general installation steps:
1.Floor Preparation: Make sure the floor is clean, level, and free of impurities such as oil or dust. If the floor is uneven, repair and sand it as necessary.
2.Measuring and planning: Measure and plan the direction and layout of the flooring according to the size and shape of the room. Make sure that the dimensions of the floor boards match the dimensions of the room.
Cutting the floor: Based on the measured dimensions, cut the flooring planks to the desired size using an appropriate tool (e.g., a cutter or floor saw). Take care to keep the planks straight and neat.
3.CLEANING THE FLOOR: Prior to installation, clean the back of the flooring planks to ensure that there is no dust or impurities to ensure that the flooring is bonded properly.
4.Laying the Floor: Starting from one side of the room, place the first flooring plank on the floor and make sure to maintain a clearance (usually 1/4") from the wall to allow for expansion and contraction of the flooring.
5.Splicing the floor: align the next flooring plank with the edge of the previous plank and press gently to ensure a tight fit between the joints of the planks. Continue to follow this procedure to lay the flooring throughout the room.
6.Corner and Obstacle Handling: When a corner or other obstacle is encountered, a tool can be used to cut the flooring planks to the desired shape, ensuring a tight fit with the corner or obstacle.
7.Perfecting the installation: After completing the flooring, use a rolling tool or a heavy object to gently roll the entire floor to ensure that the floor is fully bonded to the ground.
8.Install Edges and Transition Strips: Install edges and transition strips of the flooring as needed to provide better appearance and protection.
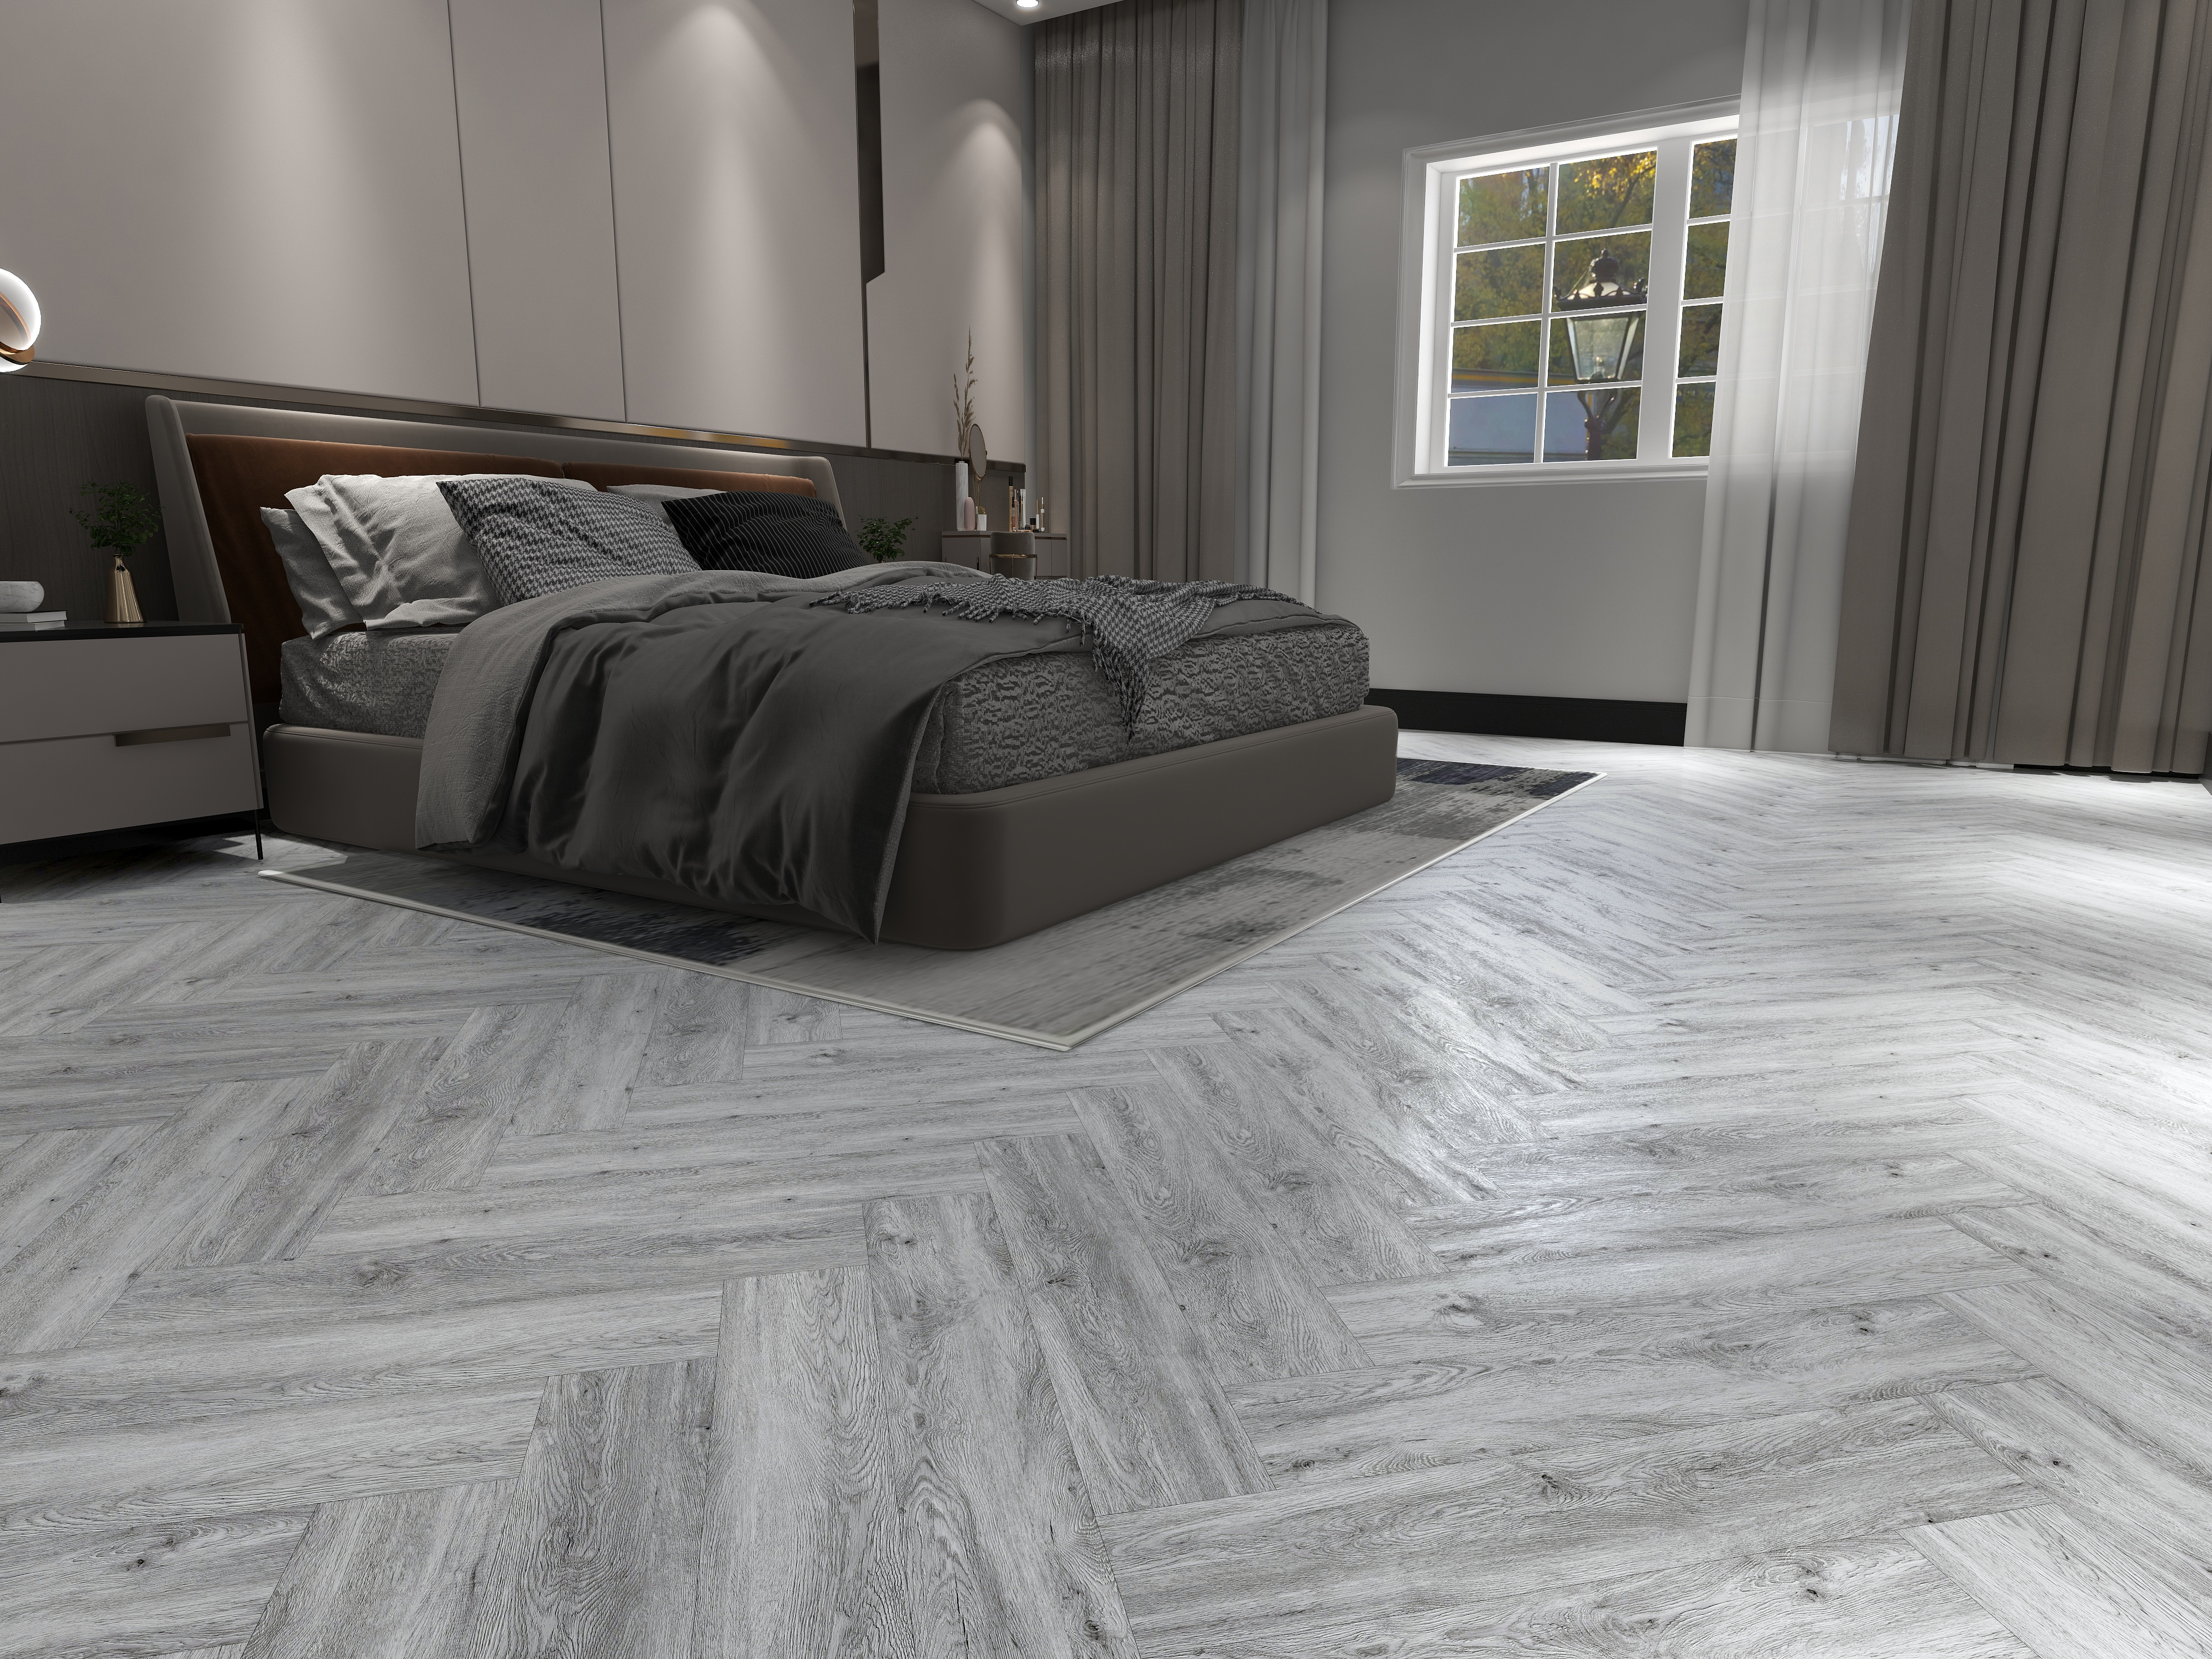
Please note that the above steps are for reference only and the exact installation steps may vary depending on different flooring brands and models. Prior to installation, it is recommended to carefully read and follow the installation guidelines and instructions provided by the flooring manufacturer. If necessary, you can also hire a professional flooring installer to perform the installation.
Loose Lay LVT flooring is relatively easy to install, here are the general installation steps:
1.Floor Preparation: Make sure the floor is clean, level, and free of impurities such as oil or dust. If the floor is uneven, repair and sand it as necessary.
2.Measuring and planning: Measure and plan the direction and layout of the flooring according to the size and shape of the room. Make sure that the dimensions of the floor boards match the dimensions of the room.
Cutting the floor: Based on the measured dimensions, cut the flooring planks to the desired size using an appropriate tool (e.g., a cutter or floor saw). Take care to keep the planks straight and neat.
3.CLEANING THE FLOOR: Prior to installation, clean the back of the flooring planks to ensure that there is no dust or impurities to ensure that the flooring is bonded properly.
4.Laying the Floor: Starting from one side of the room, place the first flooring plank on the floor and make sure to maintain a clearance (usually 1/4") from the wall to allow for expansion and contraction of the flooring.
5.Splicing the floor: align the next flooring plank with the edge of the previous plank and press gently to ensure a tight fit between the joints of the planks. Continue to follow this procedure to lay the flooring throughout the room.
6.Corner and Obstacle Handling: When a corner or other obstacle is encountered, a tool can be used to cut the flooring planks to the desired shape, ensuring a tight fit with the corner or obstacle.
7.Perfecting the installation: After completing the flooring, use a rolling tool or a heavy object to gently roll the entire floor to ensure that the floor is fully bonded to the ground.
8.Install Edges and Transition Strips: Install edges and transition strips of the flooring as needed to provide better appearance and protection.
Please note that the above steps are for reference only and the exact installation steps may vary depending on different flooring brands and models. Prior to installation, it is recommended to carefully read and follow the installation guidelines and instructions provided by the flooring manufacturer. If necessary, you can also hire a professional flooring installer to perform the installation.